Sunday, November 19, 2017

ide dishes with Chicken Marbella

1. COUSCOUS

This just had to be my number one pick for so many reasons, not only does couscous and chicken Marbella give a good sight when paired, there are numerous ways you can choose to design your couscous to show how skillful you are in the kitchen.
Couscous
Couscous – Photo from thekitchn.com
Another exciting thing about it is that there are a lot of couscous recipes, so you can choose the one that goes with the kind of chicken Marbella you want to cook, I prefer this recipe by Thekitchen because it is plain and goes with any kind of chicken Marbella.

2. RISOTTO

Risotto is light and like the couscous, it can be designed and prepared in a lot of ways and with any kind of addition that compliments your chicken Marbella.
Risotto
Risotto – Photo from finecooking.com
If you do not mind having your Chicken Marbella with a side this that is equally quite soft then this is for you, I went for this recipe by Fine cooking because it is basic and it is quite easy to prepare, it complements the long hours spent on the chicken Marbella.

3. SPINACH SALAD

Chicken Marbella is a dish that is high in fats and calories because of the ingredients and the chicken so it makes a lot of sense to pair it with a dish that has vegetables.
Spinach Salad
Spinach Salad – Photo from mykoreankitchen.com
Spinach salad also offers a good colour burst with the chicken Magellan when designed and served. I like this recipe by Korean kitchen because of the simple outcome.
I also like the fact that the spinach gets boiled a little, I feel this gives it a more chewable soft texture but if you like it fresh and uncooked, you can make your substitutions, give it a look.

4. GERMAN POTATOES SALAD

One thing that keeps getting me about a well prepared German potato salad is the vinegar mix and sliced up pieces of thick bacon, you never get tired of it and it keeps you going back for more.
German Potatoes Salad
German Potatoes Salad – Photo from thepioneerwoman.com
Serving a few scoops of this with some chicken Marbella will do some good to any tummy. This recipe by Thepioneerwoman is one of the best and you can try it and tell for yourself.
I personally leave out any extra ingredients used most times and you can tweak and reduce things to fit your kind of chicken Marbella.

IT’S A FEAST!!!

Chicken Marbella is a dish that most people find challenging because of the belief that it can easily come out wrong or the complicated combination of ingredients and spices but that is hardly the case.
Most Chicken Marbella recipes hold a lot of similarities so all you have to do is to follow a well-picked recipe and you are done.
Don’t be afraid to mix as many ingredients as are needed when cooking because the end result is usually worth it. Also, note that chicken Marbella is very time-consuming so you should start your preparation a day ahead in order not to run short of time to serve

Chicken Marbella

BRIEF HISTORY OF CHICKEN MARBELLA-THE SILVER PALATE

It all started in the early 1970’s, Julee Rosso who worked at an advertising company as at that time met Sheila Lukins who was a caterer through a customer of hers.
They both later decided to start a business whereby meals were prepared and customers could walk in and buy themselves a plate at their comfort and that then brought about the creation of “The Silver Palate”.
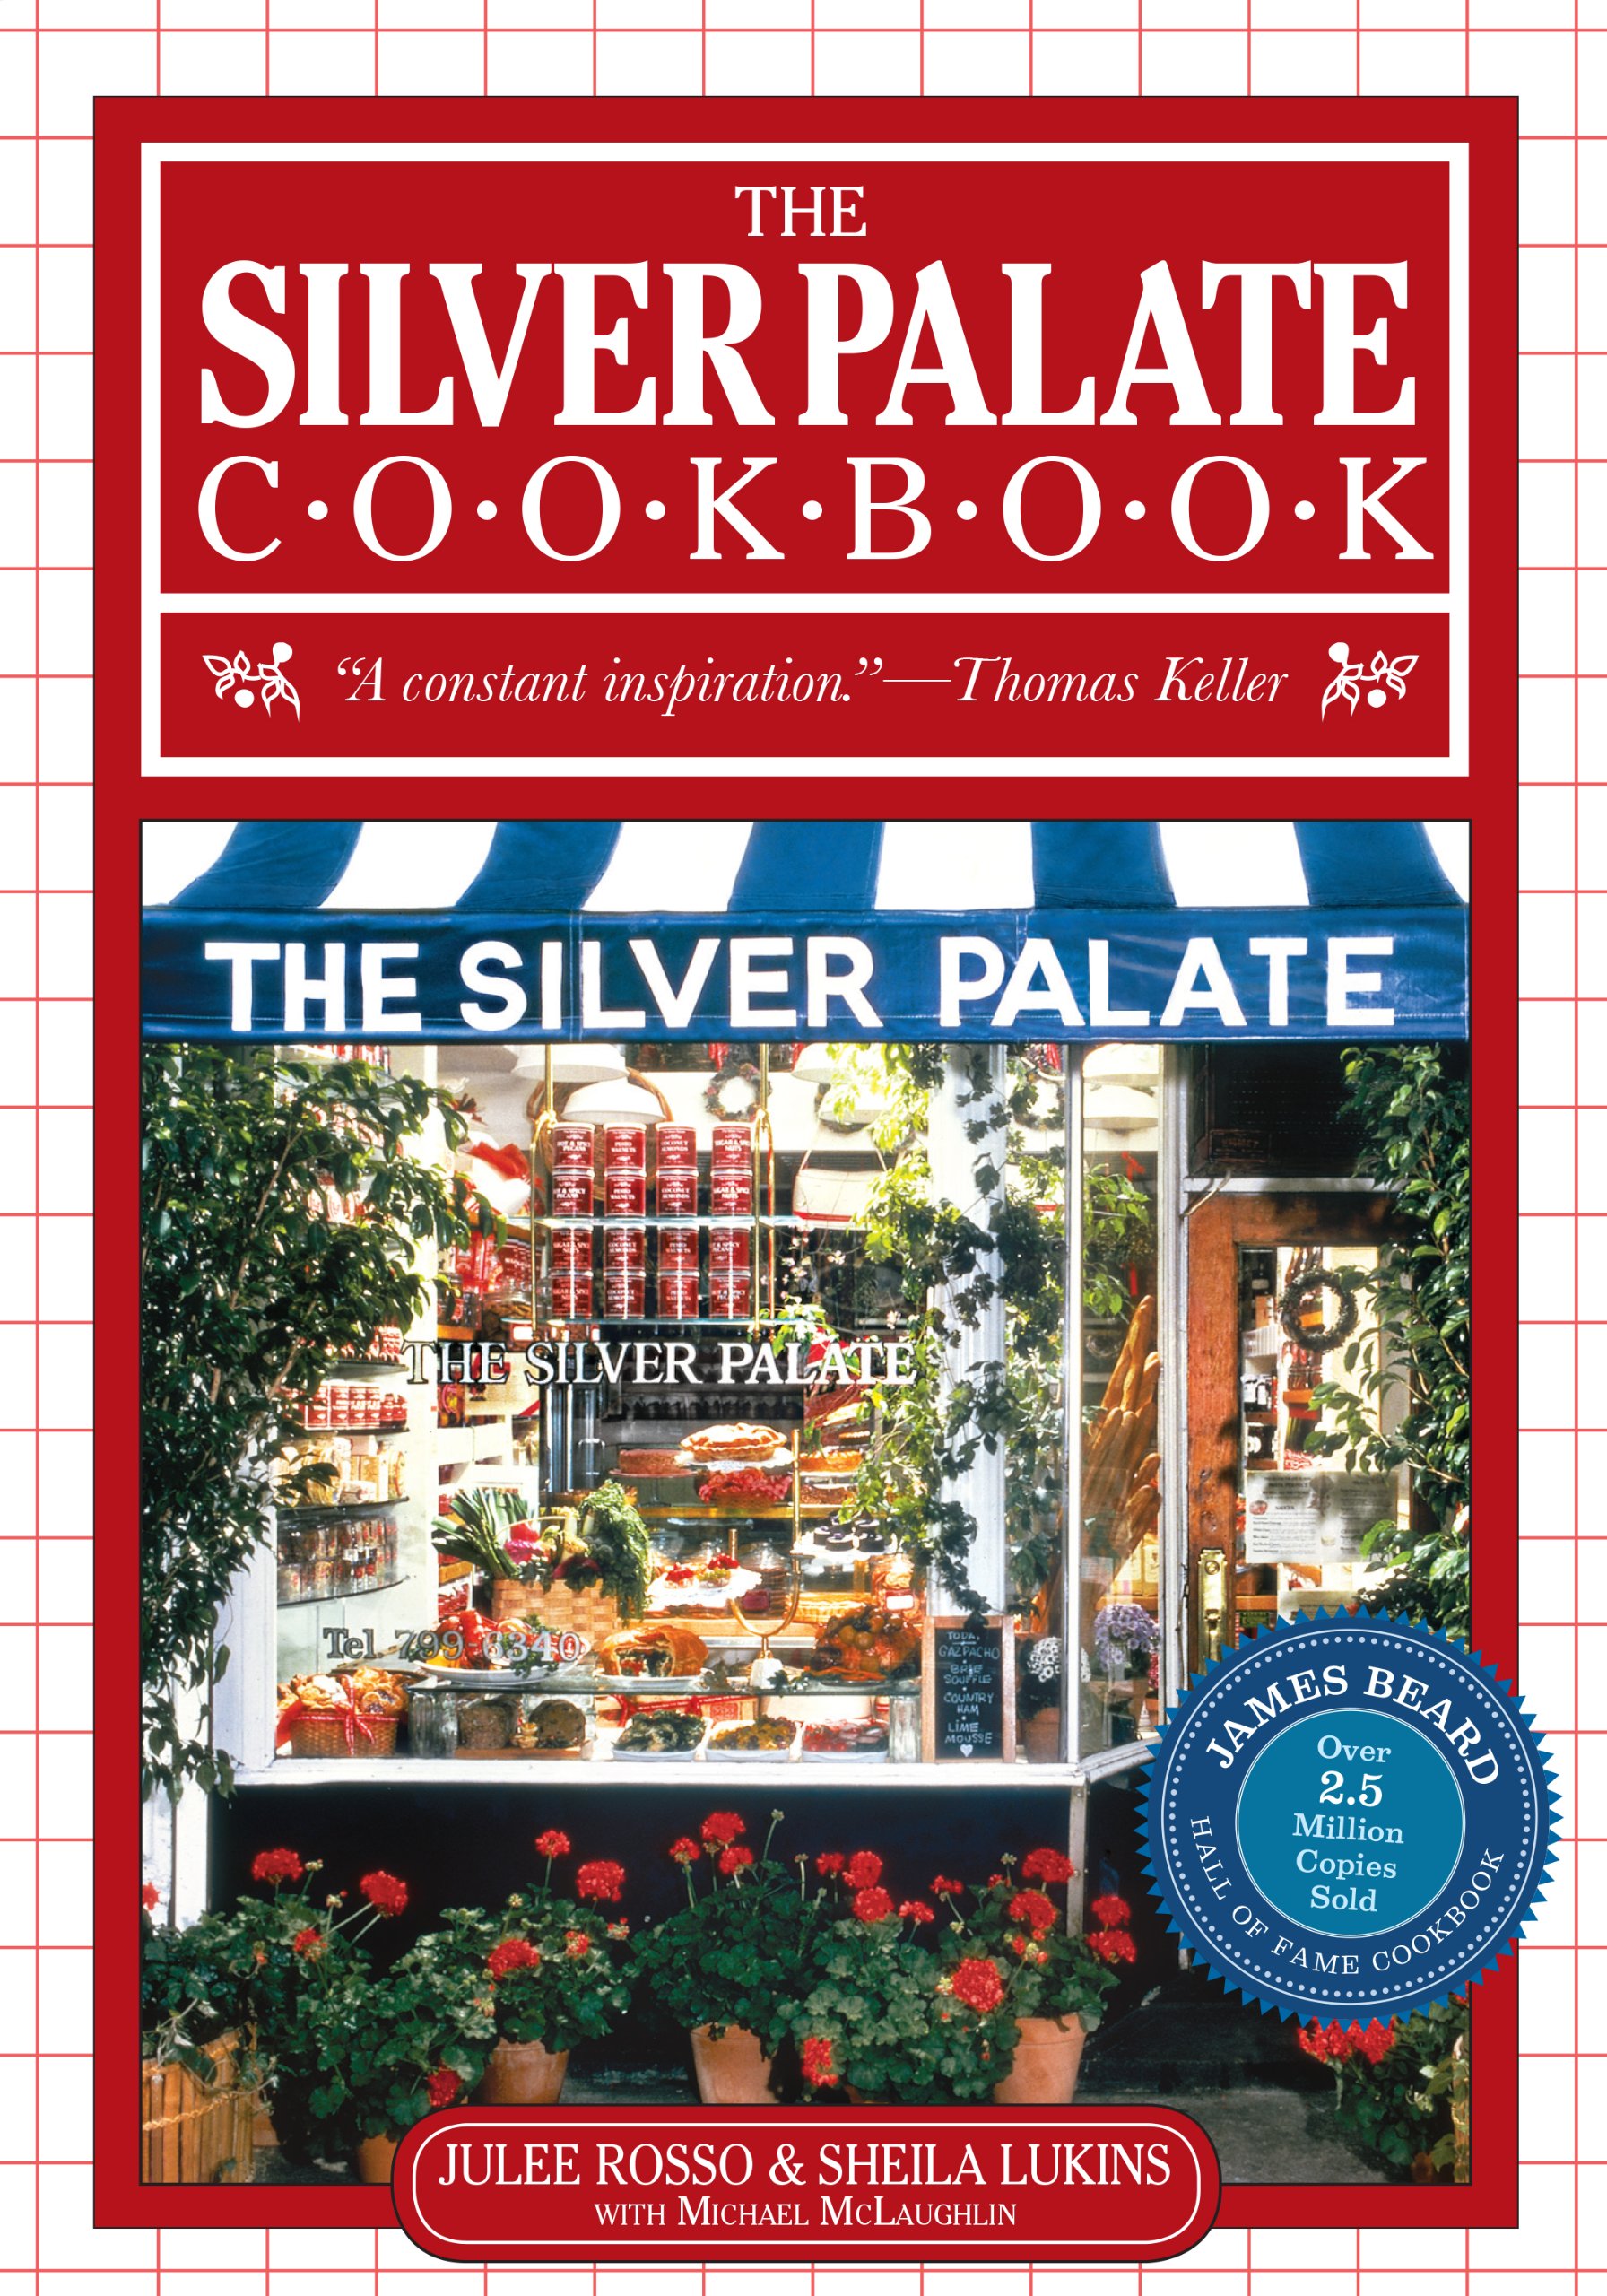
The Silver Palate Cookbook Review
The Silver Palate Cookbook – Amazon.com
It said that the restaurant was situated quite close to the central park at that time. The collaborative business grew higher and higher, offering packaged food with the company’s brand name.
In 1981, the Silver Palate Cookbook was published by the joint efforts of Lukins and Rosso and the creation of that cookbook changed cooking in America as a whole.
The chicken Marbella recipe was and still is one of the best to come out of it.

CHICKEN MARBELLA RECIPES

1. THE CLASSIC CHICKEN MARBELLA

Now we definitely can’t name any other recipes without listing the original thing first. If you want the very traditional form of preparation following the basic chicken Marbella recipe step by step then this is it Thesilverpalate.
You can substitute some of the ingredients with what you have available to you.

2. SLOW COOKE CHICKEN MARBELLA

Preparing your chicken Marbella in a slow cooker allows the taste to sink into it, although it takes a whole lot more time.
It also saves you the overnight refrigerating process so you just get your ingredients and start the cooking on the go.
This recipe by Woman’s Day is an all-time favourite of mine. The deep brown colour of the chicken and scent are just heavenly, give it a try.

Marbella kjúklingur

YIELD
10-12 servings

INGREDIENTS

    • 4 chickens, 2 1/2 pounds each, quartered
    • 1 head of garlic, peeled and finely pureed
    • 1/4 cup dried oregano
    • coarse salt and freshly ground black pepper to taste
    • 1/2 cup red wine vinegar
    • 1/2 cup olive oil
    • 1 cup pitted prunes
    • 1/2 cup pitted Spanish green olives
    • 1/2 cup capers with a bit of juice
    • 6 bay leaves
    • 1 cup brown sugar
    • 1 cup white wine
    • 1/4 cup Italian parsley or fresh coriander (cilantro), finely chopped

PREPARATION

    1. Preheat oven to 350 degrees. In a large bowl combine chicken quarters, garlic, oregano, pepper and coarse salt to taste, vinegar, olive oil, prunes, olives, capers and juice, and bay leaves. Cover and let marinate, refrigerated, overnight. Arrange chicken in a single layer in one or two large, shallow baking pans and spoon marinade over it evenly. Sprinkle chicken pieces with brown sugar and pour white wine around them. Bake for 50 minutes to 1 hour, basting frequently with pan juices. Chicken is done when thigh pieces, pricked with a fork at their thickest, yield clear yellow (rather than pink) juice. With a slotted spoon transfer chicken, prunes, olives and capers to a serving platter. Moisten with a few spoonfuls of pan juices and sprinkle generously with parsley or cilantro. Pass remaining pan juices in a sauceboat. To serve Chicken Marbella cold, cool to room temperature in cooking juices before transferring to a serving platter. If chicken has been covered and refrigerated, allow it to return to room temperature before serving. Spoon some of the reserved juices over chicken.

Tómat- karrý kjúklingur

min_IMG_3934
Ég var svolítið tvístígandi að setja þessa uppskrift hingað inn. Ég get allavega seint kallað þetta mína uppskrift og ég veit svei mér þá ekki hvaða hugmyndin kemur. Ég fékk þennan rétt í fyrsta skipti í matarboði fyrir mörgum, mörgum árum og hann er svo góður að maður gleymir honum ekki. Það eiga því trúlega margir uppskriftina að þessum ótrúlega einfalda en hrikalega góða rétti. En ef ekki, þá er hún hér, á silfurfati með myndum, fyrir ykkur því ég veit fátt skemmtilegra en að gleðja ykkur með góðum uppskriftum! Það er nógu góð ástæða fyrir birtingu uppskriftarinnar að mínu mati. Svo finnst mér alveg ótrúlegt en gríðarlega skemmtilegt að segja frá því að þessi uppskrift er númer 100 á síðunni! Tíminn sannarlega flýgur þegar það er gaman 🙂 Nú, en að matnum, þeir sem eru sjóaðir í framandi matreiðslu, steytingu krydda, hafa skömm á tilbúnum sósum og vilja alltaf útbúa mat frá grunni ættu kannski að hætta að lesa núna. Uppskriftin er afar einföld, sérstaklega fljótleg en útkoman er eins og maður hafi staðið í eldhúsinu tímunum saman. Ungir jafnt sem aldnir sleikja sósuna af fingrunum svo góð er hún. Prófið þessa !
min_IMG_3919
Tómat karrý kjúklingabitar (fyrir 5):
  • 1 flaska Heinz chillisósa
  • 3 tsk gott karrý, t.d frá Pottagöldrum
  • 1 tsk nýmalaður svartur pipar og smá salt
  • 2 bakkar kjúklingabitar ca. 1.5 kg (t.d leggir og læri) eða einn heill kjúklingur hlutaður niður
  • 1 peli rjómi eða 2,5 dl góð kókosmjólk
  • Saxað fersk kóríander eða steinselja
min_IMG_3906Aðferð: Blandið saman chillisósu, karrý og pipar og hellið í stórt fat. Skolið kjúklingabitana, þerrið vel og skerið 2-3 djúpar rákir í hvern bita svo sósan fari vel inn í kjötið. Veltið bitunum upp úr sósunni og látið standa í 10-15 mínútur, stráið dálitlu sjávarsalti yfir bitana. Hitið ofn í 170 gráður með blæstri. Setjið kjúklingabitana í ofninn og bakið í 30 mínútur. Takið þá fatið út og hellið rjómanum eða kókosmjólkinni yfir og bakið í 30 mínútur til viðbótar. min_IMG_3915Stráið söxuðu kóríander eða steinselju yfir og berið fram með góðum hrísgrjónum og fersku salati. min_IMG_3929

Friday, April 27, 2012

Alton Brown's Baked Macaroni and Cheese

Baked Macaroni and Cheese

Recipe courtesy Alton Brown
Prep Time:
20 min
Inactive Prep Time:
--
Cook Time:
45 min
Level:
Easy
Serves:
6 to 8 servings

Ingredients

  • 1/2 pound elbow macaroni
  • 3 tablespoons butter
  • 3 tablespoons flour
  • 1 tablespoon powdered mustard
  • 3 cups milk
  • 1/2 cup yellow onion, finely diced
  • 1 bay leaf
  • 1/2 teaspoon paprika
  • 1 large egg
  • 12 ounces sharp cheddar, shredded
  • 1 teaspoon kosher salt
  • Fresh black pepper

Topping:

  • 3 tablespoons butter
  • 1 cup panko bread crumbs

Directions

Preheat oven to 350 degrees F.
In a large pot of boiling, salted water cook the pasta to al dente.
While the pasta is cooking, in a separate pot, melt the butter. Whisk in the flour and mustard and keep it moving for about five minutes. Make sure it's free of lumps. Stir in the milk, onion, bay leaf, and paprika. Simmer for ten minutes and remove the bay leaf.
Temper in the egg. Stir in 3/4 of the cheese. Season with salt and pepper. Fold the macaroni into the mix and pour into a 2-quart casserole dish. Top with remaining cheese.
Melt the butter in a saute pan and toss the bread crumbs to coat. Top the macaroni with the bread crumbs. Bake for 30 minutes. Remove from oven and rest for five minutes before serving.
Remember to save leftovers for fried Macaroni and Cheese.

Friday, January 6, 2012

Kevin Coffey Buttermilk Biscuits

1. Mix dry ingredients
2. use a shredder to "shred" a v. cold stick of butter (can be frozen! or refrigerated is fine too) into the dry ingredients, mixing as you go along to evenly distribute the butter
3. add the buttermilk
4. bake! :) the temperature is in F

Tuesday, September 13, 2011

Delicious Seed Cake

I've used this recipe of Delia Smith's as a basis for some experimentation.


As is the recipe makes a brilliant old fashioned seed cake.

110 grams Butter
110 grams Sugar
Two eggs
150 grams wheat
25 ground almonds
1 teaspoon baking powder
1/2 teaspoon salt
2-3 tablespoons milk
2 tablespoons caraway seeds
Some demerara sugar
Some flaked almonds

Basic batter making: Beat butter and sugar together and add the eggs. After that the wheat, baking powder and salt follows. Lastly gently add the caraway seeds and almonds into the mix. Add some milk to give the batter the right consistency (use own judgement) and drop into tin. Sprinkle demerara sugar and flaked almonds over the cake. Bake for 50-60 mins at 180°C or 350°F or until the cake is golden and the sides have started shrinking from the sides of the tin.

You can also skip the caraway seeds and add two tablespoons fresh, shredded ginger and the zest from one lime to make a very nice ginger and lime cake. In that case I recommend skipping the almond flakes on top and replace them with some lime zest.


Monday, August 22, 2011

Chocolate Hazelnut Torte

From here.
Paired with a glass of Champagne or a cup of hot coffee, this dense cake is a lovely conclusion to a special meal.

Ingredients:

For the torte:

  • 1/2 cup hazelnuts, plus 12 hazelnuts for garnish
  • 6 oz. bittersweet chocolate, finely chopped
  • 8 Tbs. (1 stick) unsalted butter, at room
      temperature
  • 2/3 cup plus 2 Tbs. sugar
  • 5 eggs, separated
  • 1/4 cup all-purpose flour
  • 1/4 cup unsweetened cocoa powder
  • 1/8 tsp. cream of tartar

For the glaze:

  • 9 oz. bittersweet chocolate, finely chopped
  • 12 Tbs. (1 1/2 sticks) unsalted butter, at room
      temperature, cut into small pieces
  • 1 1/2 Tbs. light corn syrup

Directions:

Preheat an oven to 375°F. Lightly butter and flour a 9-inch round springform cake pan.

To make the torte, spread the 1/2 cup hazelnuts on a baking sheet and toast in the oven until lightly browned and fragrant, 5 to 7 minutes. While the nuts are still warm, place them in a kitchen towel and rub with the towel to remove the skins. Do not worry if bits of skin remain. Set aside.

Place the chocolate and butter in a large heatproof bowl set over but not touching gently simmering water in a saucepan. Stir often until the chocolate melts, then remove from the heat.

In a food processor fitted with the metal blade or in a blender, combine the skinned nuts with the 2/3 cup sugar. Pulse until finely ground. Add to the chocolate mixture and stir until blended. Let cool; then add the egg yolks one at a time, beating well after each addition. In a bowl, sift together the flour and cocoa. Stir into the chocolate mixture.

In another bowl, using an electric mixer, beat the egg whites and cream of tartar until soft peaks form. Add the 2 Tbs. sugar and beat until stiff peaks form. Using a rubber spatula, fold one-fourth of the whites into the chocolate mixture to lighten it. Then fold in the remaining whites just until no white streaks remain. Pour into the prepared pan.

Bake until a skewer inserted into the center comes out almost clean, 35 to 40 minutes. Transfer the pan to a wire rack and let cool.

To make the glaze, combine the chocolate, butter and corn syrup in a heatproof bowl set over but not touching gently simmering water in a saucepan. Stir often until the chocolate melts, then remove from the heat and stir until smooth. Let cool, stirring occasionally, for 15 minutes; the glaze will thicken slightly.

Set the rack over a baking sheet, invert the torte onto the rack and lift off the pan. Pour on the glaze, tilting the torte to coat the top and sides completely. When the glaze stops dripping, place the 12 hazelnuts around the top of the cake. Transfer to a serving plate and serve.
Adapted from Williams-Sonoma Seasonal Celebration Series, Winter, by Joanne Weir (Time-Life Books, 1997).

Saturday, July 30, 2011

Blueberry Pie (Cook's Illustrated)


Published July 1, 2008. From Cook's Illustrated.

WHY THIS RECIPE WORKS:

When perfecting our blueberry pie recipe, we found that adding a peeled, grated Granny Smith apple, rich in pectin, helped thicken the berries and enhance their flavor.

MAKES ONE 9-INCH PIE

This recipe was developed using fresh blueberries, but unthawed frozen blueberries (our favorite brands are Wyman’s and Cascadian Farm) will work as well. In step 4, cook half the frozen berries over medium-high heat, without mashing, until reduced to 1 1/4 cups, 12 to 15 minutes. Grind the tapioca to a powder in a spice grinder or mini food processor. If using pearl tapioca, reduce the amount to 5 teaspoons. Vodka is essential to the texture of the crust and imparts no flavor; do not substitute.

INGREDIENTS

  • Foolproof Pie Dough
  • 2 1/2cups unbleached all-purpose flour (12 1/2 ounces), plus more for work surface
  • 1teaspoon table salt
  • 2tablespoons sugar
  • 12tablespoons cold unsalted butter (1 1/2 sticks), cut into 1/4-inch slices
  • 1/2cup vegetable shortening , cold, cut into 4 pieces
  • 1/4cup vodka , cold (see note)
  • 1/4cup cold water
  • Blueberry Filling
  • 6cups fresh blueberries (about 30 ounces) (see note)
  • 1Granny Smith apple , peeled and grated on large holes of box grater
  • 2teaspoons grated zest and 2 teaspoons juice from 1 lemon
  • 3/4cup sugar (5 1/4 ounces)
  • 2tablespoons quick-cooking tapioca , ground (see note)
  • pinch table salt
  • 2tablespoons unsalted butter , cut into 1/4-inch pieces
  • 1large egg , lightly beaten with 1 teaspoon water

INSTRUCTIONS

  1. 1. For The Pie Dough: Process 1 1/2 cups flour, salt, and sugar in food processor until combined, about two 1-second pulses. Add butter and shortening and process until homogenous dough just starts to collect in uneven clumps, about 15 seconds; dough will resemble cottage cheese curds and there should be no uncoated flour. Scrape bowl with rubber spatula and redistribute dough evenly around processor blade. Add remaining cup flour and pulse until mixture is evenly distributed around bowl and mass of dough has been broken up, 4 to 6 quick pulses. Empty mixture into medium bowl.

  2. 2. Sprinkle vodka and water over mixture. With rubber spatula, use folding motion to mix, pressing down on dough until dough is slightly tacky and sticks together. Divide dough into 2 even balls and flatten each into 4-inch disk. Wrap each in plastic wrap and refrigerate at least 45 minutes or up to 2 days.

  3. 3. Remove 1 disk of dough from refrigerator and roll out on generously floured (up to 1/4 cup) work surface to 12-inch circle, about 1/8 inch thick. Roll dough loosely around rolling pin and unroll into pie plate, leaving at least 1-inch overhang on each side. Working around circumference, ease dough into plate by gently lifting edge of dough with one hand while pressing into plate bottom with other hand. Leave dough that overhangs plate in place; refrigerate while preparing filling until dough is firm, about 30 minutes.

  4. 4. For The Filling: Adjust oven rack to lowest position, place rimmed baking sheet on oven rack, and heat oven to 400 degrees. Place 3 cups berries in medium saucepan and set over medium heat. Using potato masher, mash berries several times to release juices. Continue to cook, stirring frequently and mashing occasionally, until about half of berries have broken down and mixture is thickened and reduced to 1 1/2 cups, about 8 minutes. Let cool slightly.

  5. 5. Place grated apple in clean kitchen towel and wring dry. Transfer apple to large bowl. Add cooked berries, remaining 3 cups uncooked berries, lemon zest, juice, sugar, tapioca, and salt; toss to combine. Transfer mixture to dough-lined pie plate and scatter butter pieces over filling.

  6. 6. Roll out second disk of dough on generously floured (up to 1/4 cup) work surface to 11-inch circle, about 1/8 inch thick. Using 1 1/4-inch round biscuit cutter, cut round from center of dough. Cut another 6 rounds from dough, 1 1/2 inches from edge of center hole and equally spaced around center hole. Roll dough loosely around rolling pin and unroll over pie, leaving at least 1/2-inch overhang on each side.

  7. 7. Using kitchen shears, trim bottom layer of overhanging dough, leaving 1/2-inch overhang. Fold dough under itself so that edge of fold is flush with outer rim of pie plate. Flute edges using thumb and forefinger or press with tines of fork to seal. Brush top and edges of pie with egg mixture. If dough is very soft, chill in freezer for 10 minutes.

  8. 8. Place pie on heated baking sheet and bake 30 minutes. Reduce oven temperature to 350 degrees and continue to bake until juices bubble and crust is deep golden brown, 30 to 40 minutes longer. Transfer pie to wire rack; cool to room temperature, at least 4 hours. Cut into wedges and serve.

RECIPE TESTING

LOOKS CAN BE DECEIVING

  • Pretty But Pasty

    Too much tapioca (or the wrong thickener, such as flour or cornstarch) results in a filling that holds its shape but tastes gluey and dull.

  • Fresh But Soupy

    With no thickener at all, there is plenty of fresh berry flavor, but the filling is loose and runny.

TECHNIQUE

NO-FUSS TOP CRUST

  • We used a 1 1/4-inch biscuit cutter to cut holes in the dough, but a spice-jar lid will also do the trick.

THE APPLE OF MY PIE

When making our blueberry pie filling, we found that if we used more than 2 tablespoons of tapioca, the texture of the filling took on a gummy consistency we didn’t like. But 2 tablespoons or less resulted in a filling that was too loose. Could we solve this problem with pectin, a gentle thickener that occurs naturally in fruit?

EXPERIMENT

As a control, we thickened one pie with 2 tablespoons tapioca. We then compared it with a second pie thickened with 2 tablespoons tapioca and a grated apple, which is high in pectin and has a mild flavor. (We hoped that grating the apple would make it less noticeable in the baked pie.)

RESULTS

As expected, the pie thickened with tapioca alone was loose and soupy. But the pie thickened with tapioca plus an apple had a naturally gelled texture that was just right. The apple bits seemed to melt into the berry filling during baking, boosting fruity flavor but leaving no textural sign of their presence.

EXPLANATION

Pectin is a natural substance, found in fruits and vegetables, that creates structure in a plant by helping to bind its cell walls together. This same substance is used to thicken jams and jellies into a set, but soft, mass. Pectin content varies from fruit to fruit and also within a plant (more pectin is found in the skin of a fruit than in its flesh, for example). Apples are a great source of pectin because they contain high levels of high-methoxy pectin, the best natural pectin for making gels. By mashing some of the blueberries and grating the apple, we helped to release the pectin from the fruits’ cell walls so that it could thicken the pie filling.

  • ON THE LOOSE
    Pie filling thickened without enough tapioca won't firm up. But too much tapioca leads to gumminess.

  • ALL FIRMED UP
    A little tapioca plus a grated apple created a juicy but sliceable filling.